
When solids pass but hollow sets fail—and wet packs keep showing up—you’re not alone. We’ll show you how to choose the right cycle, load correctly, verify with indicators and PCDs (process challenge devices), and fix wet packs/failed BIs (biological indicators), with field-tested steps aligned to international standards—and why air removal and steam quality decide outcomes.
So when we walk into a site, what do we fix first? Air. You can run the same cycle and watch a tray of forceps pass while a pipette tip box comes out wet or fails indicators. Why? Trapped air (and other non-condensable gases—gases that don’t turn into water) sit in lumens and corners, blocking steam contact. Geometry decides how stubborn those pockets are.
Even at 134°C, air is an insulator—it keeps cold cores and creates wet packs. Low steam dryness (too much water in the steam) and leaks that pull in room air make it worse. A solid block heats predictably. A narrow lumen or wrapped set traps bubbles unless you actively remove them. Next, we’ll map the geometries—solids, porous, and hollows—and the cycles that actually clear the air.
As promised, let’s map the geometries—because air removal lives or dies on shape. Solids are dense items with no internal voids. Hollows are lumens (tube-like passages) that can be long and narrow. Porous items are textiles and packaging full of tiny gaps. Standards like EN 285 (European steam sterilizers), ISO 17665 (moist-heat validation), and AAMI ST79 (US practice guide) all focus on steam penetration. That’s why Bowie–Dick tests (checks air removal) and helix PCDs (simulated lumens) exist.
Geometry dictates how fast air leaves and steam gets in. A solid tray heats quickly because steam condenses on the surface and spreads heat inward. A wrapped set warms slower because the wrap traps air and moisture. A 300 mm lumen with a 2 mm bore has stubborn pockets; a short, wide lumen clears faster. Orientation matters too: horizontal tubes pool condensate; vertical helps drain. Gravity cycles struggle here; pre-vacuum cycles actively remove air to meet the penetration expectations in those standards.
Use this quick checklist to map your inventory to the right geometry.
Here’s where shape bites. In a gravity cycle, hot steam tries to push cooler air out (displacement), but boundary layers (thin stagnant films along walls) hang onto it. Picture a tall graduated cylinder versus a beaker: the skinny column keeps a cold core long after the beaker is hot. Now think of a pipette tip box with closed side vents—the first steam in condenses on the lid, making water, while air sits trapped underneath.
Long lumens are worse. As steam meets cool tube walls, it condenses and stalls, leaving a cushion of air ahead that moves slowly. Without forced evacuation, that plug never leaves. We see this when a helix PCD fails while the chamber sensor looks perfect. The instrument is not “broken”; the physics is. Depth of vacuum and fractionation pulses are what clear that air.
And when that air stays put, lethality doesn’t reach the target. The lumen tip runs cooler, condensate pools, and you get wet packs or a positive BI in the hardest-to-reach spot. The tray passes, the helix fails. That mismatch is your early warning: improve air removal or change geometry/orientation.
Gravity-only cycles can work for solids, but hollows need active pre-vacuum. Overpacked chambers leave no flow paths; steam never reaches the core. Tip boxes with taped or closed vents trap air and shed water late. Drying is its own controlled step—post-vacuum plus jacket heat—not “more exposure time.” Faster isn’t faster if it adds rework.
Those “normal” shortcuts drive failure rates. We see teams rerun mixed loads because one helix PCD failed, or delay release waiting on soggy wraps. Each rerun burns hours and undermines confidence. Separate by geometry, open vents, and tune drying, and reruns drop sharply while total turnaround stabilizes.
Scaling from benchtop to pilot or production? See how we design and validate larger chambers and utilities with our industrial sterilizers—same physics, tighter controls, audit-ready documentation.
Same physics, tighter controls—that’s the point. So how do you apply it in your lab today? Use fractionated pre‑vacuum (vacuum–steam pulses) to strip out >99% of air from wraps and lumens. Then finish with post‑vacuum drying and a heated jacket to evaporate condensate and stop wet packs. Solids can run shorter exposures with brief dry; hollows and porous sets need deeper pre‑vac, geometry‑appropriate exposure, and longer dry. Prove lumen penetration with a helix PCD (process challenge device). This approach fits CSA Z314 (Canadian sterilization standard) programs and our CRN‑registered vessels.
Do the fundamentals and the numbers change fast. With four pre‑vac pulses and tuned drying, we routinely see 0 wet packs across 50+ consecutive cycles and 100% helix PCD passes on lumen loads. BI (biological indicator) results follow suit—Geobacillus stearothermophilus spores die predictably at 121–134°C once steam actually reaches every surface. Gravity may clear solids; pre‑vac makes hollows reliable. That’s how you move from reruns and doubt to clean releases and steady throughput.
This only sticks when your team has simple SOPs (standard operating procedures) and why‑based training. Everyone follows the same rules: classify the load, pick the right cycle, place a helix PCD for lumen sets, run a Bowie–Dick (air‑removal test) daily, and never release if drying fails. Release is binary: external and internal CIs (chemical indicators) pass, BIs are negative when used, PCDs pass, no alarms, leak‑rate within spec. Clear rules cut reruns and quiet audits.
Use this six‑step setup—from pre‑checks to unload—when you need first‑pass sterility without wet packs.
With CIs (chemical indicators), BIs (biological indicators), and PCDs (process challenge devices) in place, choose the closest load type below. Then adjust for your chamber size, load mass, packaging, and manufacturer limits. When in doubt, separate loads or validate against the worst case.
| Load type | Air removal method | Exposure temp/time | Drying approach | Indicators/PCD |
|---|---|---|---|---|
| Unwrapped solid metal or glass items | Gravity displacement or single pre‑vacuum (air‑removal) stage | 134°C for 3–5 min, or 121°C for 15–30 min | Door‑ajar cool or brief post‑vacuum dry (2–5 min) | CI type 4/5; BI weekly |
| Wrapped solid instrument packs | Pre‑vacuum, 3–4 pulses; leak‑free chamber | 134°C for 4–7 min; 121°C if heat‑sensitive | Post‑vacuum dry 10–20 min; jacket heat on | CI type 5; BI weekly |
| Hollow narrow lumens ≤1 mm inner diameter (ID) | Pre‑vacuum with dynamic removal; 4–6 pulses, deep vacuum | 134°C for 7–18 min; validate F0 (cumulative lethality) | Post‑vacuum dry 20–30 min; vertical orientation aids drain | Helix PCD per load; CI inside; BI each run |
| Pipette tips in vented boxes | Pre‑vacuum; lids open/vented; remove films or caps | 121°C for 20–30 min; avoid 134°C for plastics | Post‑vacuum until fully dry; jacket heat on | CI inside box; BI daily until validated |
| Tall glass cylinders, flasks, or beakers | Pre‑vacuum preferred; tilt vessels; use vented racks | 121°C for 20–30 min; add time for heavy glass | Extended dry; racks for drainage; door cracked as needed | CI inside; BI weekly; temperature probe optional |
| Porous loads: wraps, filters, textiles | Deep pre‑vacuum; 3–5 pulses; leak‑rate within spec | 134°C for 7–10 min; 121°C longer for heat‑sensitive | Long post‑vacuum dry; jacket heat; avoid overpacking | Bowie–Dick daily; CI type 5; BI weekly |
You’ve got Bowie–Dick, type 5 chemical indicators (CIs), and weekly BIs ready—now make them pass every time with this tape‑to‑the‑autoclave loading checklist our techs use.
Before you release those crisp, dry packs, prove the process: use this matrix to match each control, what it verifies, the tool, how often to run it, and what a passing result looks like.
| Control | What it verifies | Tool/Method | Frequency | Pass criteria |
|---|---|---|---|---|
| Air removal efficacy | Steam penetration in porous loads and hollow lumens | Bowie–Dick (air-removal test) or Helix PCD (process challenge device) | Daily before first load | Clear, uniform indicator endpoint within manufacturer window; no residual air pattern |
| Chamber integrity | Vacuum tightness | Vacuum leak-rate test | Weekly or per OEM (manufacturer) | Pressure rise within limit (e.g., ≤1.3 kPa/min) |
| Cycle exposure | Exposure time and temperature achieved | Calibrated data logger and cycle printout | Every cycle | All setpoints met; no alarms |
| Chemical exposure | Steam at point-of-use | Class 4–6 CI (chemical indicator) | Every pack/load | Correct endpoint color change per manufacturer |
| Sterility assurance | Microbial lethality | BI (biological indicator, Geobacillus stearothermophilus) | Weekly and after repairs/major changes | BI shows no growth within read time |
If that biological indicator (BI) ever shows growth—or any control fails—use this table: match the symptom, confirm the cause, apply the fix, then requalify the cycle. Still stuck? We’ll cover equipment next.
| Symptom | Likely cause | What to check | Corrective action |
|---|---|---|---|
| Wet packs after cycle | Insufficient drying, overloading, or cold chamber | Load density, wrap/pouch type, dry time, jacket heat | Reduce load, extend post‑vacuum dry, improve spacing, preheat chamber |
| Positive biological indicator (BI) growth detected | Inadequate air removal or insufficient exposure | Cycle parameters, helix device (simulated lumen) result, door seal, leak‑rate | Quarantine load, rerun after fix, service vacuum, deepen pre‑vacuum pulses |
| Chemical indicator (CI) fails or partial change | Cold spots, trapped air, or poor indicator placement | Indicator at core and lumen tips; load pattern; spacing | Repack, reorient for drainage, switch to pre‑vacuum, retest with helix device |
| Long heat‑up or slow to setpoint | Cold start, undersized steam, or low dryness fraction (too wet) | Steam supply pressure, separator/trap, drain temperature at cold point | Preheat with empty cycle, service steam line, fix traps, descale |
| Cracked glassware after cycle | Thermal shock with trapped liquid or sealed lids | Vents open, lids loosened, cooling rate, water inside vessels | Use 121°C cycle, remove lids/foils, vent, cool gradually |
If you’ve done the fixes—121°C cycles, vented lids, gradual cooling—and failures persist, these features close the gap: fewer wet packs, reliable lumen penetration, faster turnaround—and they set you up for ASME/CRN compliance next.
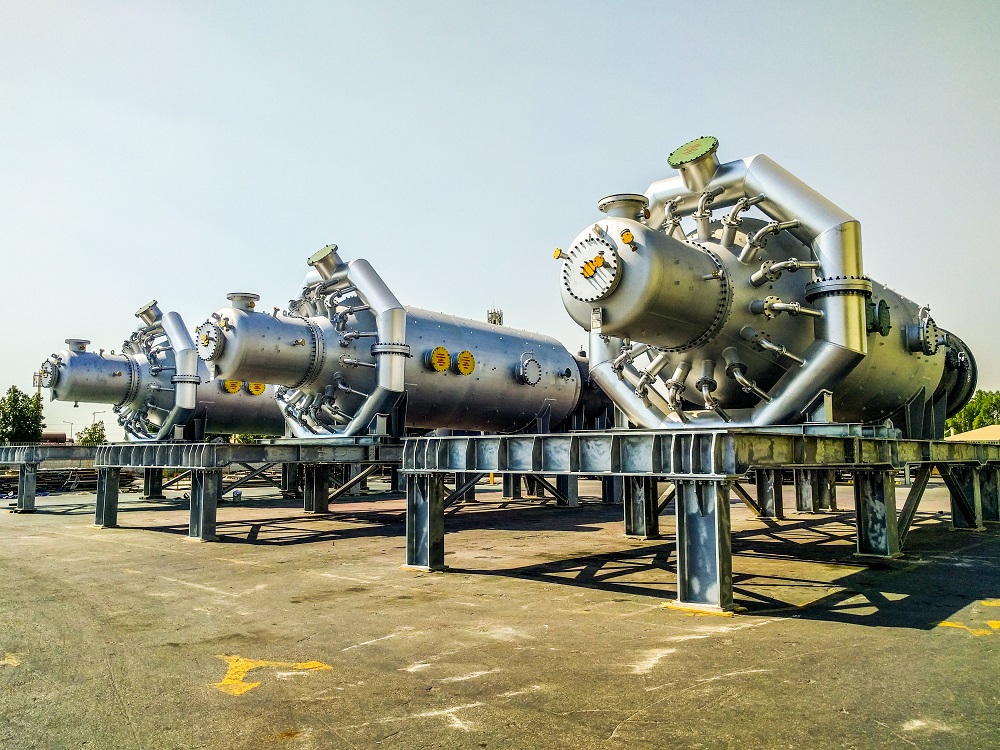
Sizing up to large‑capacity autoclaves is smart; permitting and reliability hinge on the pressure vessel. So what keeps you legal and running? In Canada, ASME Section VIII (American Society of Mechanical Engineers pressure‑vessel code) and CRN (Canadian Registration Number) are the baseline. Code‑built vessels run safer, hold pressure, and satisfy insurers. Keep the docs: U‑stamp data report, material test reports, welder qualifications, NDE (non‑destructive examination) and hydrotest certificates, plus relief‑valve set‑pressure proof. Follow inspection schedules—commissioning, annual or jurisdictional—so you don’t lose uptime over a missing sticker. Compliance protects throughput. And budgets.
Who checks all this? Your provincial boiler/pressure‑vessel authority and your insurer’s inspector verify nameplate data, CRN registration, relief devices, and interlocks before first fire. You keep the logbook: pressure tests, leak‑rate results, calibrations, repairs, and scheduled internal/external inspections. We hand you a complete dossier at delivery—drawings, calculations, U‑stamp, CRN papers, hydrotest report, valve certificates—so audits take minutes, not days. Store it digitally and in a binder. Simple. The payoff is safety and zero‑surprise audits. And yes, the same discipline applies to composite curing, rubber, and wood treatment—more on that next.
If you’re evaluating vessels beyond lab sterilizers, review our ASME pressure vessels, compare pressure vessel tanks for your utilities, and browse pressure vessels for sale to match capacity and code scope.
Those cycle records and lot‑release habits don’t stop at the lab. Your regulated waste stream needs proof too, which is why our medical waste autoclaves use the same jacket control, vacuum integrity, and real‑time data logging. Example: vivarium bedding and double‑bagged waste behave like porous loads; fractionated pre‑vacuum strips air, then aggressive post‑vac drying prevents soggy liners and drips. The result is compliant kill with predictable cart throughput, so Facilities keeps schedules tight and you aren’t holding red bags for a second run.
On the processing side, the same physics make stronger parts and cleaner glass. A glass laminating autoclave delivers uniform pressure and heat so PVB (polyvinyl butyral) or EVA (ethylene‑vinyl acetate) interlayers flow cleanly. For fiber parts, our composite autoclaves pair tight jacket control with deep vacuum for void‑free cures, and aerospace autoclaves add calibrated load thermocouples for flight‑grade traceability. Different outcomes, same discipline: remove air, control heat, document it. Next, a quick case shows how this playbook rescued a lab with chronic wet packs.
Here’s that quick case we promised. A university core lab in Ontario was rerunning mixed loads twice a day: wet packs, pipette tip boxes with CIs (chemical indicators) half-changed, and a helix PCD (process challenge device, simulated lumen) that failed randomly. Morale dipped. Throughput did too. We started with a Cycle Audit: steam quality check for non‑condensable gases (air that won’t condense), leak‑rate test, and a drain temperature probe at the cold point. Then we switched their hollow loads to a fractionated pre‑vac (vacuum–steam pulses), opened box vents, and oriented lumens vertical to drain. Sound familiar?
Results showed up in week one. Helix PCDs passed 30/30 cycles, CIs were crisp, and BIs (biological indicators, spores that prove kill) stayed negative. Reruns dropped from 8 per week to zero, saving roughly 6–8 labor hours and 2–3 chamber hours weekly. Drying time fell from 28 minutes to 16 with jacket heat and post‑vacuum tuning. Net effect? First‑pass rate hit 100% over 60 consecutive cycles, and release decisions took minutes, not meetings. Quiet wins. We guided the changes and left them with a one‑page loading rule set and data‑logging template. Up next: the exact takeaways you can copy today.
As promised, here are the exact takeaways you can copy today—use them on your very next load.
Right-size your chamber, steam, and vacuum? Book a fast Cycle Audit and we’ll tune your matrix, loading, and drying—then verify it. Or, if you’re buying, talk specs with the team behind TRG’s code-built units; we’re among trusted industrial autoclaves manufacturers. Expect a 48-hour proposal or an audit plan with timelines within one business day.
Let’s discuss your test plan
Contact us for more information on our products and how they can fulfill your manufacturing or sterilization needs. You may also ask us about our policies, ordering and delivery process, or for other related information.
Get In Touch