
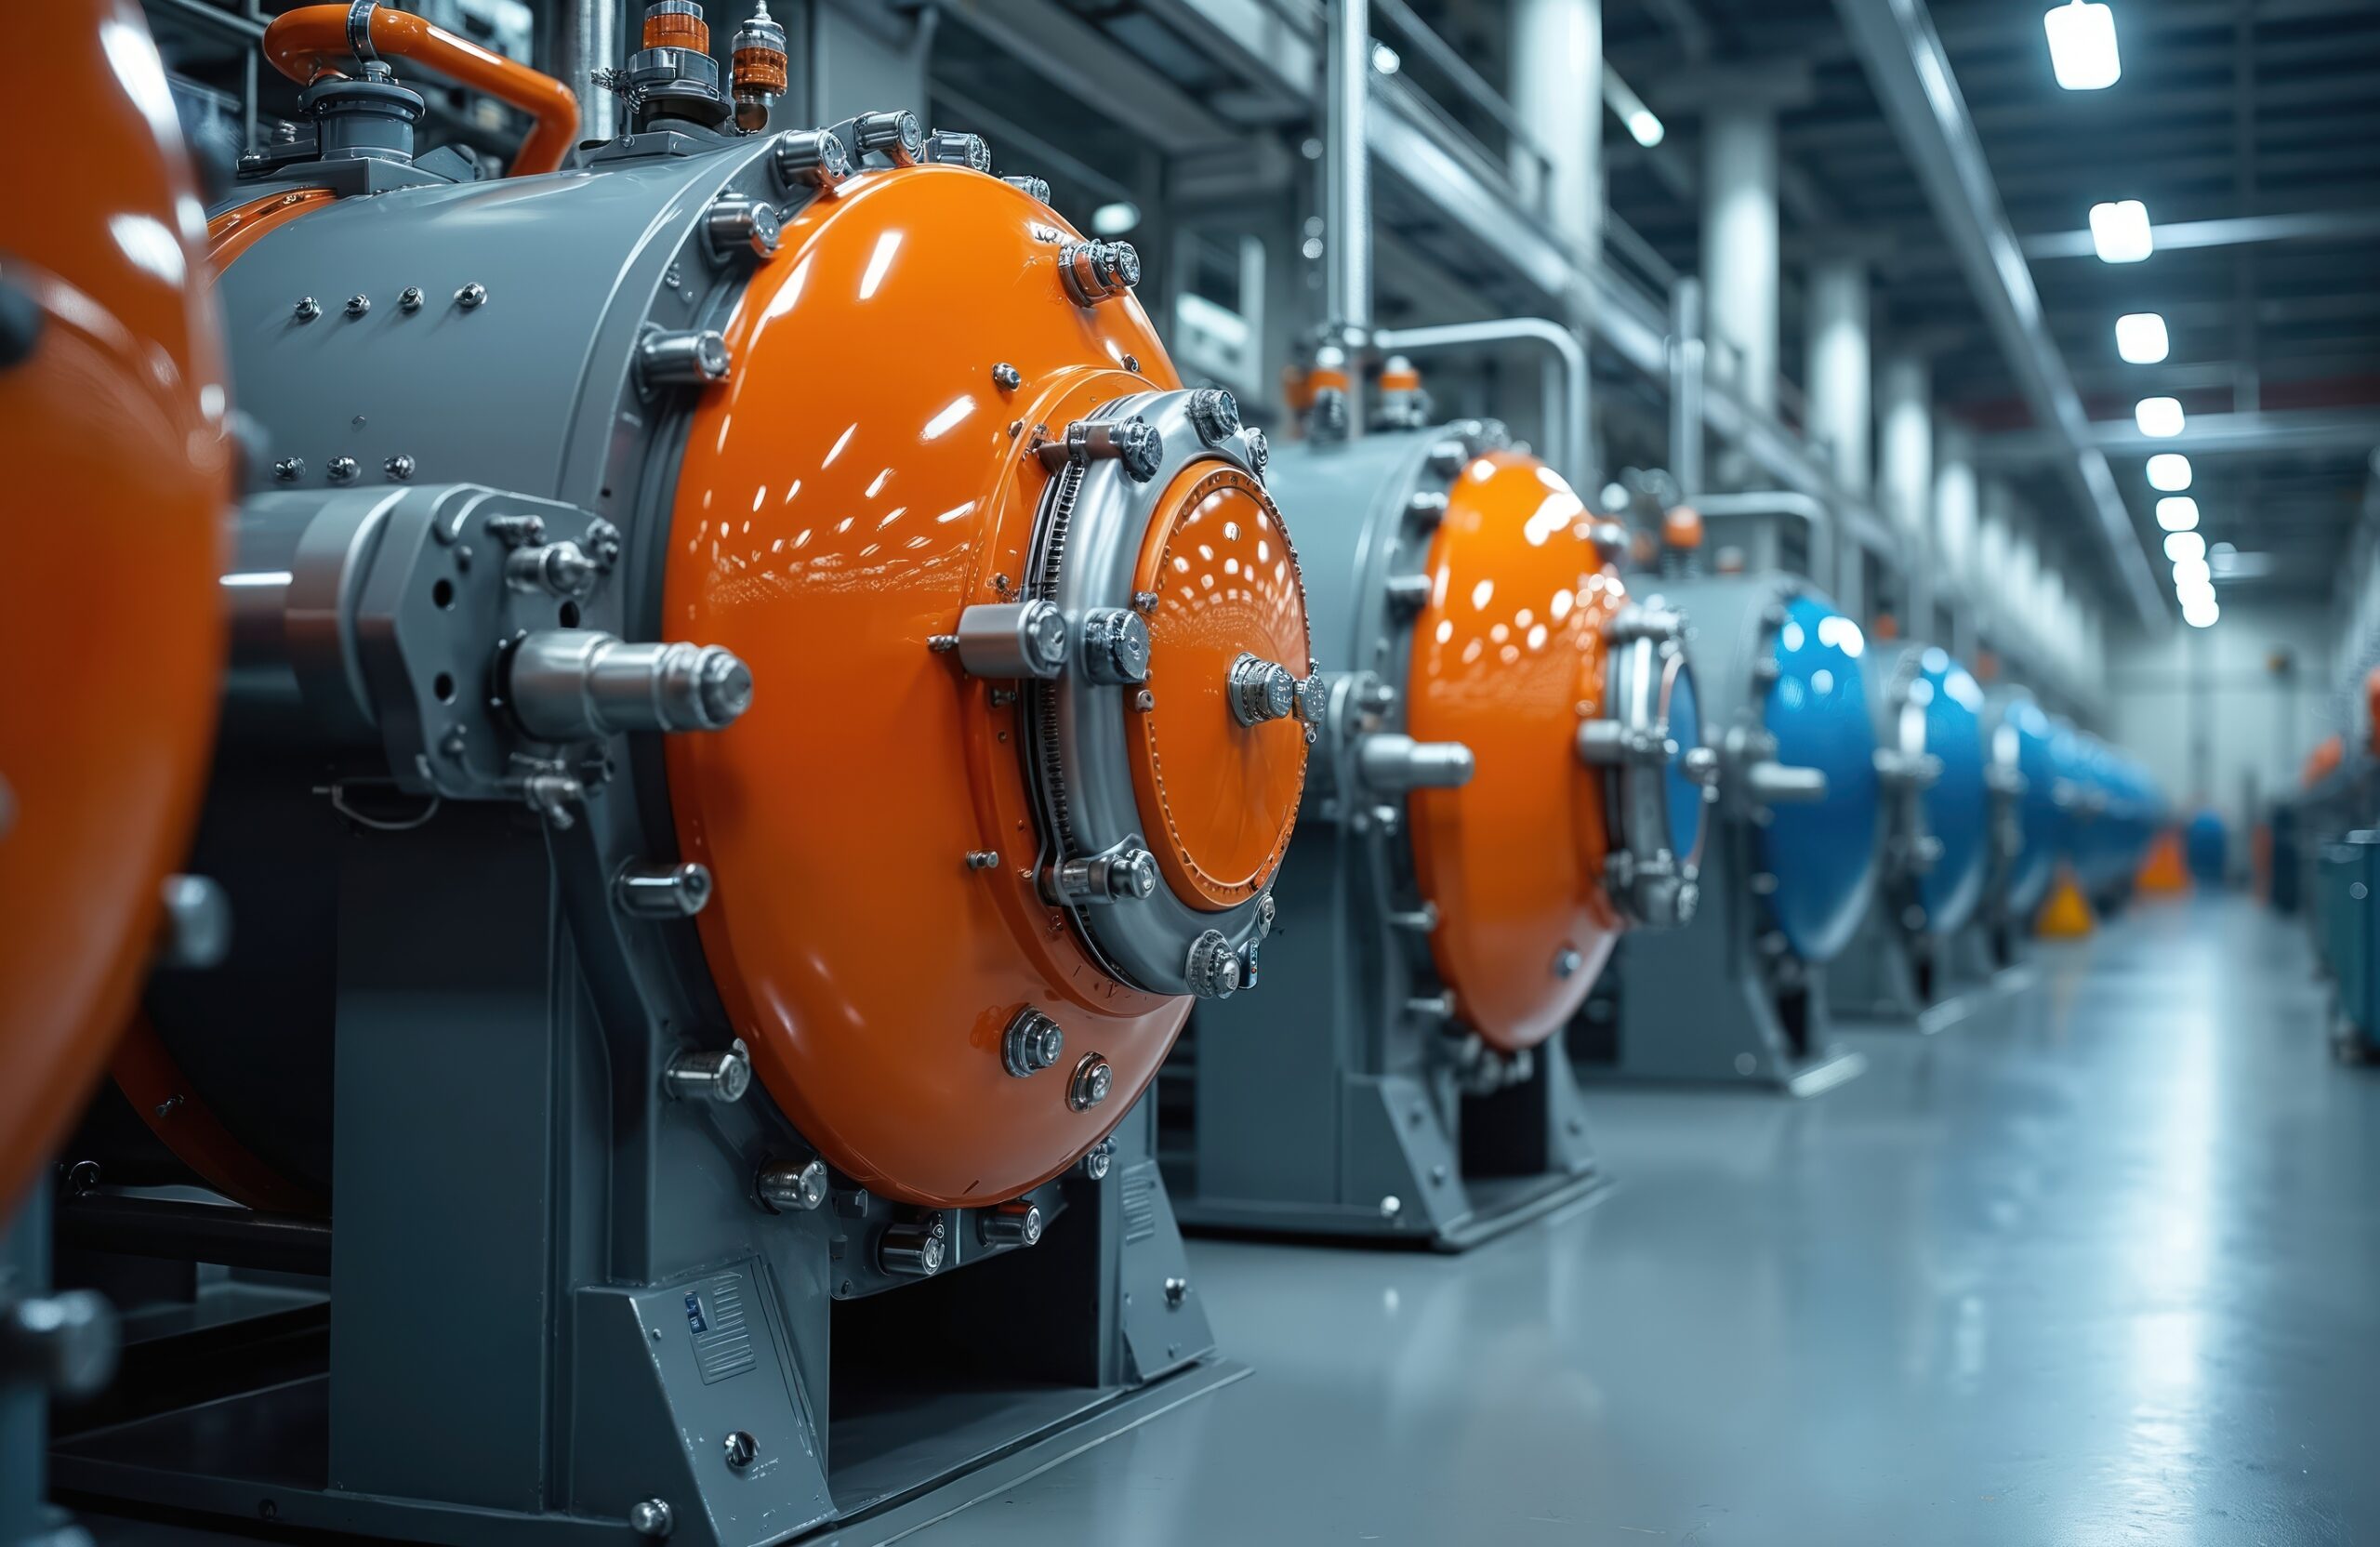
A laboratory autoclave is a pressurized chamber that sterilizes lab equipment, media, glassware, and biohazard waste using saturated steam, typically at 121°C or 134°C. By holding items at high temperature and pressure for a set time, a lab autoclave destroys bacteria, viruses, fungi, and resistant spores that ordinary cleaning leaves behind.
Steam sterilization works because pressurized steam transfers heat far more efficiently than dry air. Inside the chamber, air is removed so saturated steam can contact every surface; the steam condenses on cooler items and releases latent heat that denatures proteins and destroys cell structures. The three variables that decide whether a load is sterile are temperature, pressure, and exposure time. Lose control of any one and sterility is not assured.
A laboratory autoclave is not the same as a medical-waste autoclave. Lab units run varied cycles for clean goods, media, and liquids, where the priority is reproducible sterility and dry, usable instruments. Medical-waste autoclaves are built around high-volume red-bag decontamination, slow exhaust to stop bag bursts, and effluent handling. Many facilities run both, and choosing the wrong cycle on the wrong machine is a common cause of failed loads.
Common laboratory autoclave uses include sterilizing culture media and reagents, decontaminating glassware and pipette tips, preparing instruments before research procedures, and treating biohazardous waste before disposal. The sections below break down the autoclave types, applications, biosafety requirements, specifications, and cycles laboratories rely on every day.
Most laboratory autoclaves fall into three families, defined by how they remove air before steam exposure. Air removal is the single biggest factor in whether steam reaches every surface, so the right type depends on what a lab sterilizes most often.
A gravity displacement autoclave relies on steam being lighter than air. Steam enters the top of the chamber and pushes cooler, denser air down and out through a drain. It is the simplest and most affordable design.
Advantages: low cost, few moving parts, and dependable performance on items steam can reach directly. Typical applications: culture media, liquids in vented containers, unwrapped glassware, and biohazard waste. Best for: microbiology labs, media-prep rooms, and teaching labs where loads are mostly liquids and open goods rather than wrapped or hollow items.
A pre-vacuum autoclave uses a vacuum pump to actively pull air out before steam enters, often through several vacuum-and-steam pulses. Removing air mechanically lets steam penetrate wrapped packs, porous loads, and the narrow channels of hollow instruments.
Advantages: faster heat-up, better penetration, and shorter exposure times, usually at 134°C. Typical applications: wrapped instrument sets, surgical and lumened tools, textiles, and porous goods. Best for: research and clinical labs that process wrapped or hollow items and need reliable drying. A daily Bowie-Dick test confirms air removal is working.
A steam-flush pressure-pulse autoclave alternates steam flushes with pressure pulses above atmospheric pressure to remove air without ever pulling a deep vacuum. Because it never drops below atmospheric pressure, it is less sensitive to small chamber or load leaks than a
pre-vacuum cycle.
Advantages: reliable air removal even with minor leaks and strong performance on mixed and hollow loads. Typical applications: mixed instrument loads, porous and hollow devices, and facilities that want pre-vacuum-level penetration with more tolerance for leaks. Best for: busy laboratories running varied loads where consistency across cycle types matters most.
Autoclave uses in the laboratory across almost every discipline that handles live cultures, sterile media, or contaminated materials. The applications below are where lab autoclaves do the most work day-to-day.
Across all of these, the goal is the same: reproducible laboratory sterilization with records that prove each load met temperature, pressure, and time. The right autoclave type and cycle depend on which of these applications dominates a lab’s daily work.
A laboratory’s biosafety level (BSL) shapes how its autoclave is used, where it sits, and how rigorously cycles are documented. The notes below are a general orientation, not regulatory guidance; always follow your institutional biosafety committee and the standards that apply in your jurisdiction.
BSL-2 covers agents of moderate hazard, such as common clinical and research pathogens. Infectious waste is typically autoclaved before disposal, and the autoclave may be located within the building rather than the lab itself. Sterilization expectations center on validated cycles for waste and reusable items, with biological indicators run periodically to confirm kill.
BSL-3 handles agents that can cause serious disease through inhalation. Containment tightens: many BSL-3 suites use a double-door (pass-through) autoclave built into the containment barrier so waste is decontaminated before it leaves the suite. Validation considerations grow stronger, with documented cycle records, routine biological-indicator monitoring, and tight control of effluent and airflow around the unit.
BSL-4 is reserved for dangerous, often untreatable agents. Decontamination is absolute: double-door autoclaves are integral to the containment envelope, and liquid effluent is treated through dedicated decontamination systems. Waste-treatment and validation requirements are the most demanding of any lab, with redundant monitoring and exhaustive records for every cycle.
When laboratories evaluate a lab autoclave, a handful of specifications decide whether it fits their loads, throughput, and compliance needs. These are the factors worth comparing before purchase.
Pressure-vessel construction also matters: a code-compliant chamber, sized relief devices, and a complete paper trail protect both staff and your audit position. The cycle reference below shows how these specs translate into real settings by load type.
Standardize acceptance criteria (exposure time, BI/CI results, dryness) and log cycle metadata (load type, packaging, utilities, operator). Trend weekly to catch drift early and prevent repeat failures.
A sterilization cycle is the full sequence an autoclave runs: air removal, heat-up (come-up), exposure at setpoint, exhaust, and drying. The exposure phase is what actually sterilizes; the other phases make sure steam reaches the load and that items come out dry and usable.
The most common laboratory cycles are:
This SOP-style checklist turns those cycles into a repeatable, auditable workflow.
Step 1: Pre-check , inspect gaskets/filters; verify chamber cleanliness
Step 2: Utilities , confirm steam quality/pressure; drain traps functioning
Step 3: Load mapping , classify by type; avoid mixed loads unless validated
Step 4: Packaging , choose wraps/containers for steam penetration and drying
Step 5: Instrumentation , place reference probes/CI/BI at worst-case points
Step 6: Cycle selection , match to load type; confirm exhaust rate for liquids
Step 7: Run control , avoid door leaks; monitor come-up and exposure
Step 8: Drying , use vacuum pulses; crack door only after safe temp/pressure
Step 9: Verification , read CIs; incubate BIs per protocol; log batch data
Step 10: Release , apply acceptance criteria; segregate any suspect items
Step 11: Post-cycle care , cool liquids correctly; prevent thermal shock
Step 12: Review , trend deviations; schedule maintenance as needed
So which cycle fits each load in a laboratory autoclave? Use this matrix as a starting point, not gospel. Validate locally with thermometric mapping, BI (biological indicator) and CI (chemical indicator) results, and steam and vacuum checks. Example: wrapped sets often need 134°C, 5 minutes’ exposure, plus extended drying to prevent wet packs.
For deeper techniques on instruments, wraps, and lumens, see our guide to solids and hollows sterilization for lab autoclaves. Liquids need their own controls, covered next.
Liquids are the most common laboratory autoclave load and the easiest to ruin. These controls stop cracked glass and boil-overs while protecting media quality.
Decontaminating biohazard waste is one of the most important autoclave uses in the laboratory. Typical loads are autoclave-safe bags with PPE and disposables; sharps stay in puncture-resistant containers. Vent each bag (two 2–3 cm slits) and keep fill under 75% so steam can penetrate; place bags in rigid, perforated trays with absorbent liners to catch condensate. Run 121°C gravity cycles with slow exhaust to prevent bursts, then manage effluent via an EDS (effluent decontamination system) or per EHS (environmental health and safety) rules with cooled drains.
High waste volumes need purpose-built capacity. We design medical waste autoclaves with extra-slow exhaust, rugged carts, integrated drain cooling, and EDS-ready piping—so waste-heavy facilities can run safely, stay compliant, and hit throughput targets.
To keep hitting those targets, your utilities have to pull their weight. Dryness fraction (how much of your steam is dry vapor, not water droplets) drives heat transfer—below ~95% you’ll see slow heat-up and wet packs. Superheat (steam hotter than its boiling point at that pressure) sounds good, but excess won’t condense on the load, so kill suffers. Non‑condensable gases (air/CO2 riding with steam) insulate surfaces, causing 1–3°C lag and failed BIs. We test, trend, and fix at the source.
If compressed air feeds your boiler or steam generator, keep it dry to stop moisture carryover and valve icing—reference a desiccant system with a receiver by linking to our pressure vessel for desiccant dryer in that discussion.
How you load a lab autoclave decides whether steam reaches every surface. Use this pre-load checklist to prevent wet packs, speed drying, and keep results consistent.
If demand outgrows one chamber, scale throughput with trolley systems, quick-change racks, and staged carts—or step up to large-capacity autoclaves designed for high-volume loads and faster turnarounds.
Validation is how a laboratory proves its autoclave actually sterilizes. PCDs (process challenge devices that simulate worst-case packs) prove air removal and penetration, CIs (chemical indicators) verify exposure, and BIs (biological indicators with resistant spores) prove kill. Fold these into IQ/OQ/PQ — installation, operational, and performance qualification — and then into routine monitoring so every batch is defensible. The table below shows how each one is used.
A laboratory autoclave is a pressure vessel, so safety starts with the chamber itself. Quality units are built to ASME (American Society of Mechanical Engineers) code and, in Canada, registered with a CRN (Canadian Registration Number). That means qualified weld procedures, certified materials, hydro and leak tests, and properly sized relief devices, backed by a paper trail of the code stamp, data reports, and material test reports.
Operator practice matters just as much. Train staff on door interlocks, safe opening temperatures and pressures, and emergency stops, and schedule routine inspections: daily visual checks, periodic leak and vacuum tests, and relief-valve verification at defined intervals. Keep calibration certificates, maintenance records, and training sign-offs for the life of the vessel per your retention policy.
When a lab adds capacity or upgrades utilities, specifying code-stamped equipment keeps both safety and audits in order. TRG Supply’s ASME-certified pressure vessels ship with the documentation auditors expect.
A laboratory autoclave is used to sterilize culture media, glassware, instruments, and reagents, and to decontaminate biohazardous waste before disposal. It uses saturated steam under pressure to destroy bacteria, viruses, fungi, and resistant spores.
Most laboratory autoclave cycles run at 121°C for 15–30 minutes for liquids and waste, or 134°C for 3–7 minutes for wrapped instruments and solid goods. The exact time depends on load type, volume, and packaging.
A laboratory autoclave runs varied cycles for clean goods, media, and liquids with reproducible sterility and drying as the priority. A medical-waste autoclave is optimized for high-volume red-bag decontamination, slow exhaust to prevent bag bursts, and effluent handling.
Chemical indicators confirm a load was exposed to the right conditions, while biological indicators with resistant spores prove the cycle actually killed microorganisms. Routine biological-indicator monitoring plus validated IQ/OQ/PQ records confirm ongoing performance.
For loads that are mostly liquids, media, and unwrapped glassware, a gravity displacement autoclave is usually enough. Labs that also process wrapped or hollow instruments benefit from a pre-vacuum or steam-flush pressure-pulse autoclave for better steam penetration.
The right laboratory autoclave is the one that matches your dominant load type, throughput, and biosafety level. Start by classifying what you sterilize most, then match the air-removal method, chamber size, and cycle library to those loads. A short selection checklist:
For high-volume or large-format loads, scale up to code-compliant pressure vessels and autoclaves built for the chamber size and documentation your lab needs.
A laboratory autoclave is only as good as the match between its design and the loads it runs. Once you understand the three autoclave types, the applications each one suits, the biosafety expectations that shape its use, and the specifications and cycles that govern each load, reliable laboratory sterilization becomes a repeatable process rather than a daily gamble.
Whether you are equipping a new microbiology lab, expanding a pharmaceutical facility, or upgrading a containment suite, the same fundamentals apply: control temperature, pressure, and time; validate the cycle; and keep clear records. TRG Supply designs and builds code-compliant autoclaves and pressure vessels to meet those requirements across research, clinical, and industrial labs.
We’ve supported 50+ labs across research, medical, and aerospace, pairing ASME/CRN hardware with validation help. Most see 20–40% throughput gains within one quarter.
The same steam, pressure, and vacuum principles behind lab sterilization apply across TRG Supply’s wider autoclave range. Explore related equipment and guides to round out your understanding:
When a laboratory autoclave cycle fails, an indicator or alarm sounds, work through this triage to contain risk, preserve evidence, and find root cause before reprocessing.
If you are selecting a new laboratory autoclave, validating an existing one, or planning for higher throughput, TRG Supply’s engineers can help you match the right chamber, cycles, and documentation to your loads and biosafety level.
Let’s discuss your test plan
Contact us for more information on our products and how they can fulfill your manufacturing or sterilization needs. You may also ask us about our policies, ordering and delivery process, or for other related information.
Get In Touch